There’s nothing quite like the delightful swirl of flavors and the smoothness of a scoop of homemade ice cream melting in your mouth. Picture this: you’re lounging in the sun on Memorial Day weekend, and suddenly a wave of nostalgia hits as you recall those childhood summers filled with laughter and churning ice cream machines. The sweet aroma fills the air while everyone eagerly awaits their turn for a scoop of that creamy goodness.
Jump to:
- <strong>Essential Ingredients</strong>
- <strong>Let’s Make it Together</strong>
- <strong>Perfecting the Cooking Process</strong>
- <strong>Add Your Touch</strong>
- <strong>Storing & Reheating</strong>
- <strong>FAQ</strong>
- How long does homemade ice cream last in the freezer?
- Can I use non-dairy alternatives for this recipe?
- What flavor variations can I try with Memorial Day Homemade Ice Cream?
- 📖 Recipe Card
Memorial Day Homemade Ice Cream becomes not just a dessert but an experience that connects generations, celebrating freedom and family. As you dig into this simple yet heavenly recipe, prepare for an explosion of flavor that will have your taste buds dancing like it’s the Fourth of July!
Why You'll Love This Recipe
- This easy-to-make homemade ice cream is perfect for any gathering.
- The rich flavors are sure to impress everyone at your picnic.
- It’s visually stunning with swirls of vibrant colors and textures that bring a smile to anyone’s face.
- Customize it easily to suit your personal taste or dietary needs without losing its creamy charm.
Every time I make this delicious treat, my kids’ eyes light up as they help churn the mixture—it’s pure joy wrapped in sweetness.
Essential Ingredients
Here’s what you’ll need to make this delicious dish:
- Heavy Cream: Opt for high-fat content cream as it yields a rich and creamy texture.
- Whole Milk: The combination with heavy cream creates that luscious mouthfeel we all love.
- Granulated Sugar: Sweeten it up! Adjust based on your preference for sweetness.
- Vanilla Extract: Using pure vanilla extract enhances the flavor; avoid imitation if possible.
- Salt: Just a pinch elevates all the flavors beautifully.
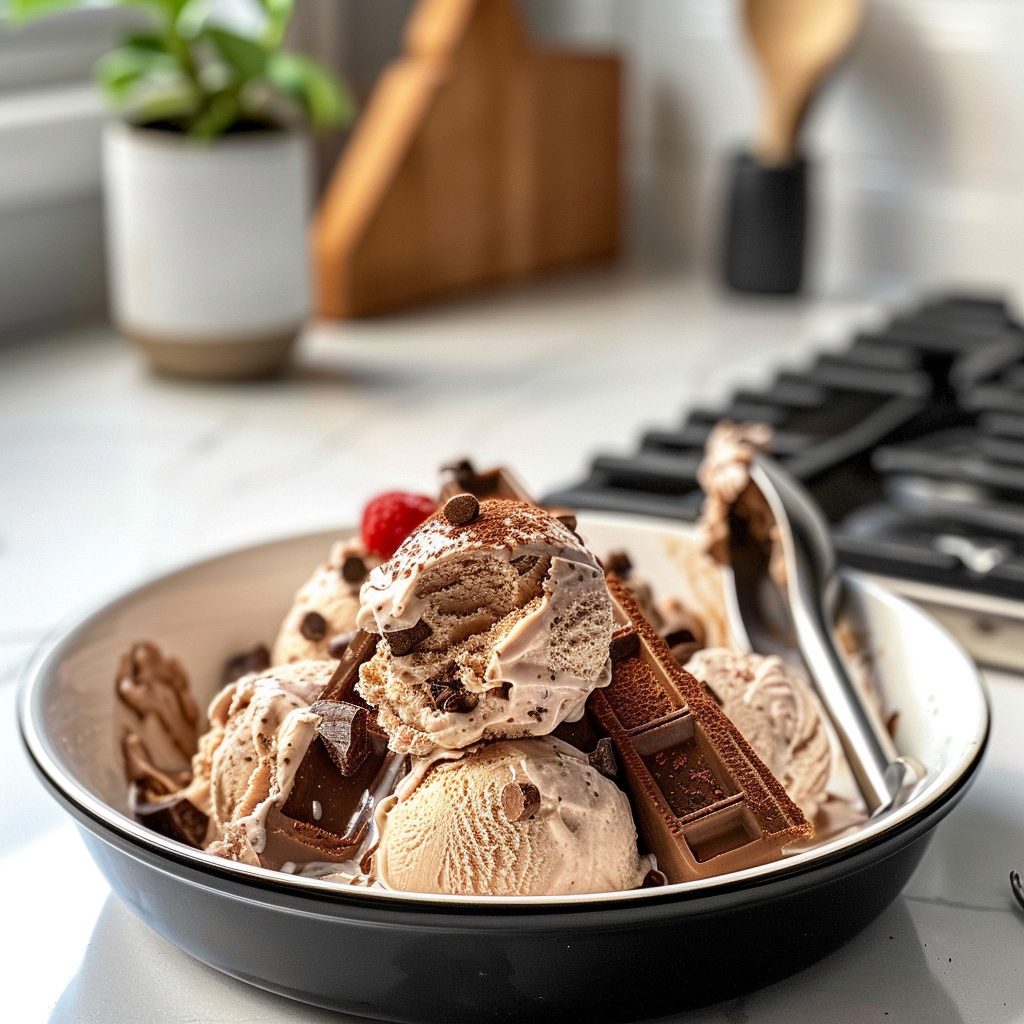
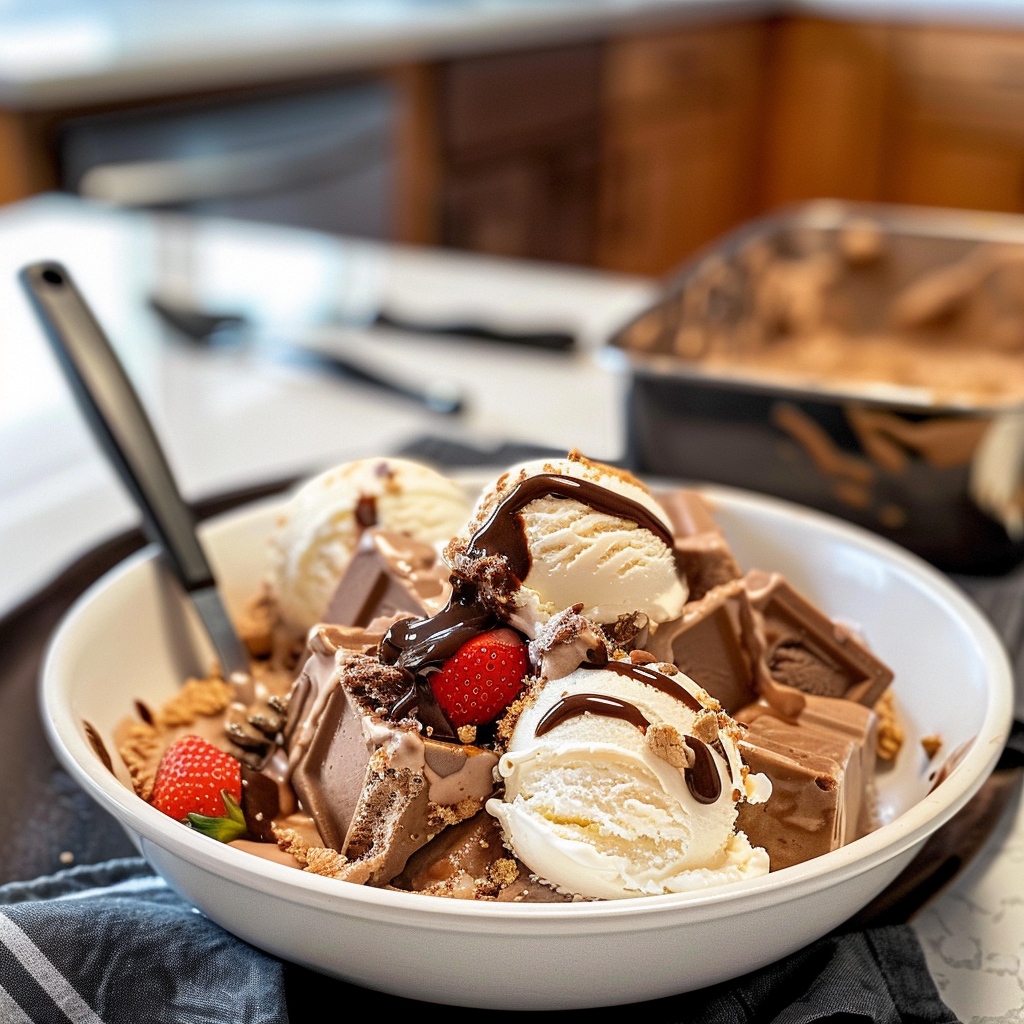
- Toppings (optional): Consider sprinkles, chocolate chips, or fresh fruit to add fun elements to each scoop!
The full ingredients list, including measurements, is provided in the recipe card directly below.
Let’s Make it Together
Gather Your Tools: Start by collecting all necessary tools—mixing bowls, whisk, measuring cups, and an ice cream maker if you have one. Don’t worry if you don’t; you can still make it without fancy gadgets!
Mix the Base: In a large mixing bowl, combine heavy cream, whole milk, sugar, vanilla extract, and salt. Whisk until everything is well blended. You should see sugar crystals gradually dissolving into the mixture.
Chill Out: Transfer your mixture into the refrigerator for about 30 minutes. Chilling intensifies those amazing flavors while ensuring a smoother texture when frozen. Use this time to dance around your kitchen like nobody’s watching!
Churn Away: Pour your chilled mixture into an ice cream maker and churn according to manufacturer instructions—usually about 20-30 minutes until it’s soft-serve consistency. If you don’t have an ice cream maker, pour it into a shallow dish and freeze while stirring every 30 minutes.
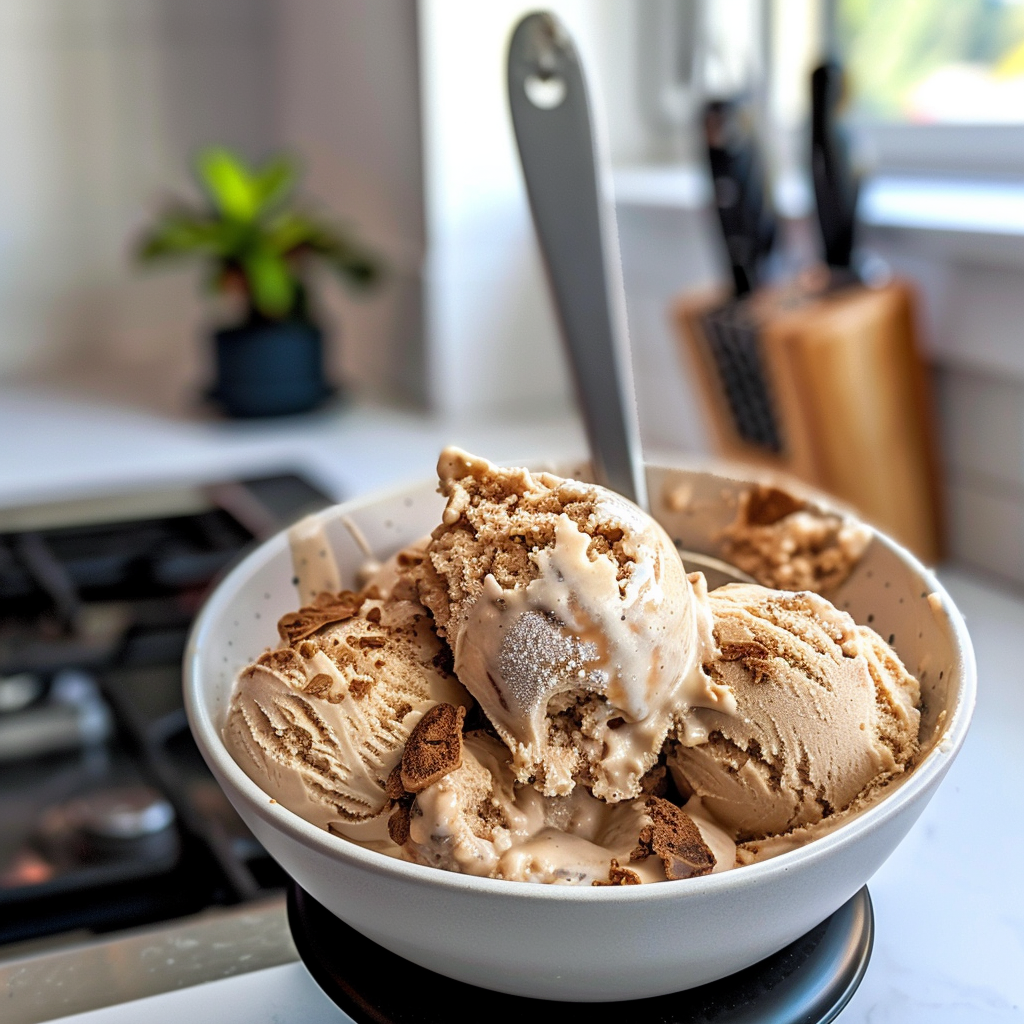
Freeze It Right: Once churned to perfection, transfer your creamy delight into an airtight container and freeze for at least four hours or until firm enough to scoop out nicely.
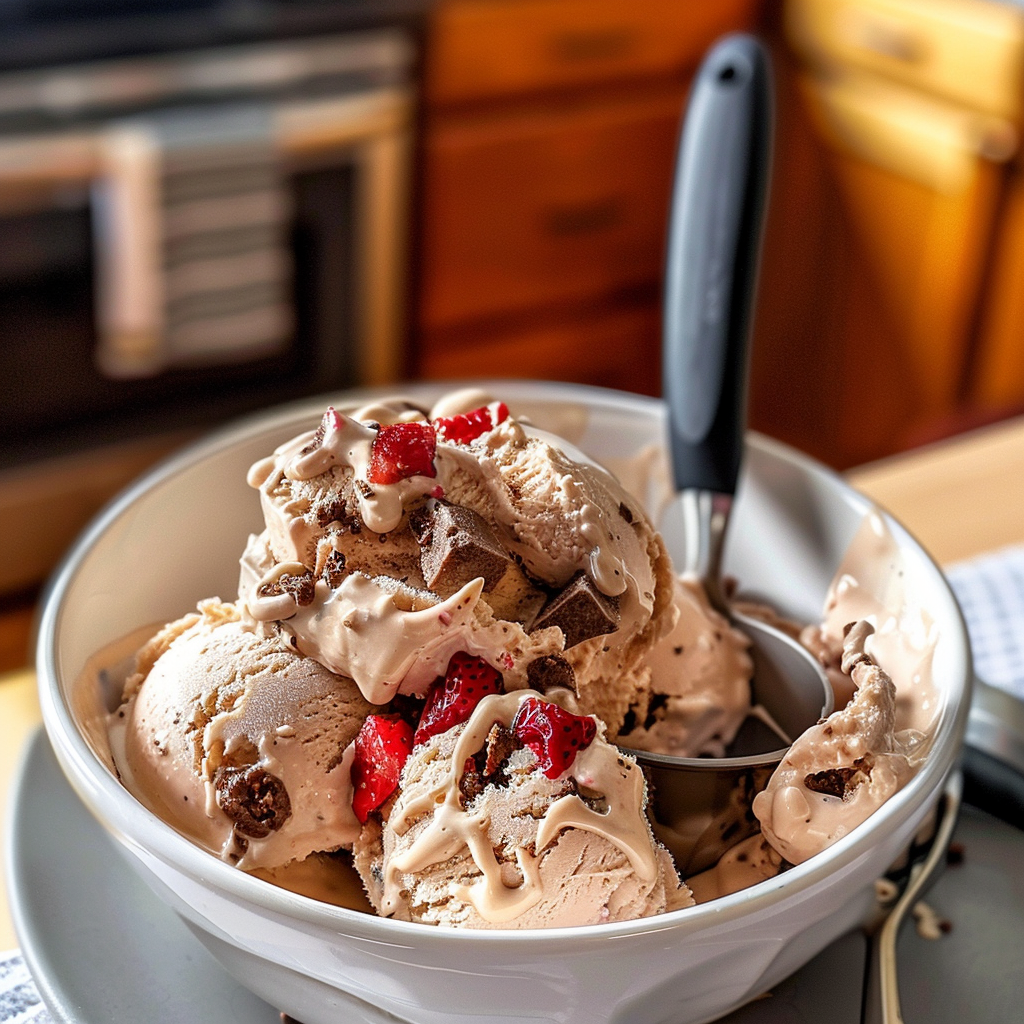
Serve and Enjoy!: Scoop out generous portions into bowls or cones and go wild with toppings! Enjoy each bite as if you’re savoring summer itself while reminiscing about those blissful backyard barbecues.
Now let’s be honest—what’s more refreshing than diving into a bowl of homemade bliss that you’ve crafted yourself? Your friends might even start calling you “the Ice Cream Whisperer” after they get wind of your culinary prowess!
You Must Know
- Making Memorial Day Homemade Ice Cream is a fun-filled activity that brings family together.
- The sweet aroma of vanilla and fresh fruit fills the air, making it a delightful treat.
- Don’t forget to enjoy it while it’s still soft and creamy!
Perfecting the Cooking Process
Begin by gathering all your ingredients. Whip up your base mixture, chill it well, and then churn for a creamy texture.
Add Your Touch
Consider adding mix-ins like chocolate chips, nuts, or fresh fruit to make your ice cream uniquely yours.
Storing & Reheating
Store your homemade ice cream in an airtight container in the freezer for optimal freshness and texture.
Chef's Helpful Tips
- For best results, ensure all ingredients are cold before starting the churning process.
- Don’t over-churn; stop when it reaches soft-serve consistency.
- Always let it sit at room temperature for a few minutes before serving for easier scooping.
Sharing homemade ice cream with family on Memorial Day has become our favorite tradition, filled with laughter and joy as we create memories together.
FAQ
How long does homemade ice cream last in the freezer?
Homemade ice cream can last about two weeks in the freezer without losing quality.
Can I use non-dairy alternatives for this recipe?
Absolutely! Substitute regular milk with coconut or almond milk for a delicious non-dairy option.
What flavor variations can I try with Memorial Day Homemade Ice Cream?
Experiment with flavors like strawberry, mint chocolate chip, or even coffee for unique tastes.
Did You Enjoy Making This Recipe? Please rate this recipe with ⭐⭐⭐⭐⭐ or leave a comment.
📖 Recipe Card
Print
Memorial Day Homemade Ice Cream
- Total Time: 50 minutes
- Yield: About 6 servings 1x
Description
Indulge in a creamy, homemade ice cream that captures the essence of summer and makes your Memorial Day celebrations unforgettable. Each scoop is pure bliss!
Ingredients
- 2 cups heavy cream
- 1 cup whole milk
- 3/4 cup granulated sugar
- 2 tsp pure vanilla extract
- 1/4 tsp salt
- Optional toppings: sprinkles, chocolate chips, fresh fruit
Instructions
- Gather all necessary tools: mixing bowls, whisk, measuring cups, and an ice cream maker (if available).
- In a large mixing bowl, whisk together the heavy cream, whole milk, sugar, vanilla extract, and salt until fully combined.
- Chill the mixture in the refrigerator for about 30 minutes to enhance flavor and texture.
- Pour the chilled mixture into an ice cream maker and churn according to manufacturer instructions (20-30 minutes for soft-serve consistency). If you don’t have an ice cream maker, pour it into a shallow dish and freeze while stirring every 30 minutes.
- Transfer the churned ice cream into an airtight container and freeze for at least four hours or until firm enough to scoop.
- Serve in bowls or cones with your favorite toppings.
Notes
- For added flavor, consider incorporating mix-ins like nuts or fresh fruit during the last few minutes of churning.
- Ensure all ingredients are cold before starting for best results.
- Prep Time: 30 minutes
- Cook Time: 20 minutes
- Category: Dessert
- Method: Churning
- Cuisine: American
Nutrition
- Serving Size: 1/2 cup (120g)
- Calories: 290
- Sugar: 24g
- Sodium: 50mg
- Fat: 22g
- Saturated Fat: 14g
- Unsaturated Fat: 7g
- Trans Fat: 0g
- Carbohydrates: 24g
- Fiber: 0g
- Protein: 3g
- Cholesterol: 80mg