Jump to:
- <strong>Essential Ingredients</strong>
- <strong>Let’s Make it together</strong>
- <strong>Perfecting the Cooking Process</strong>
- <strong>Add Your Touch</strong>
- <strong>Storing & Reheating</strong>
- <strong>FAQ</strong>
- Can I use gluten-free cereal for homemade rice krispies treats?
- How do I prevent my rice krispies treats from being too sticky?
- What can I use instead of marshmallows?
- 📖 Recipe Card
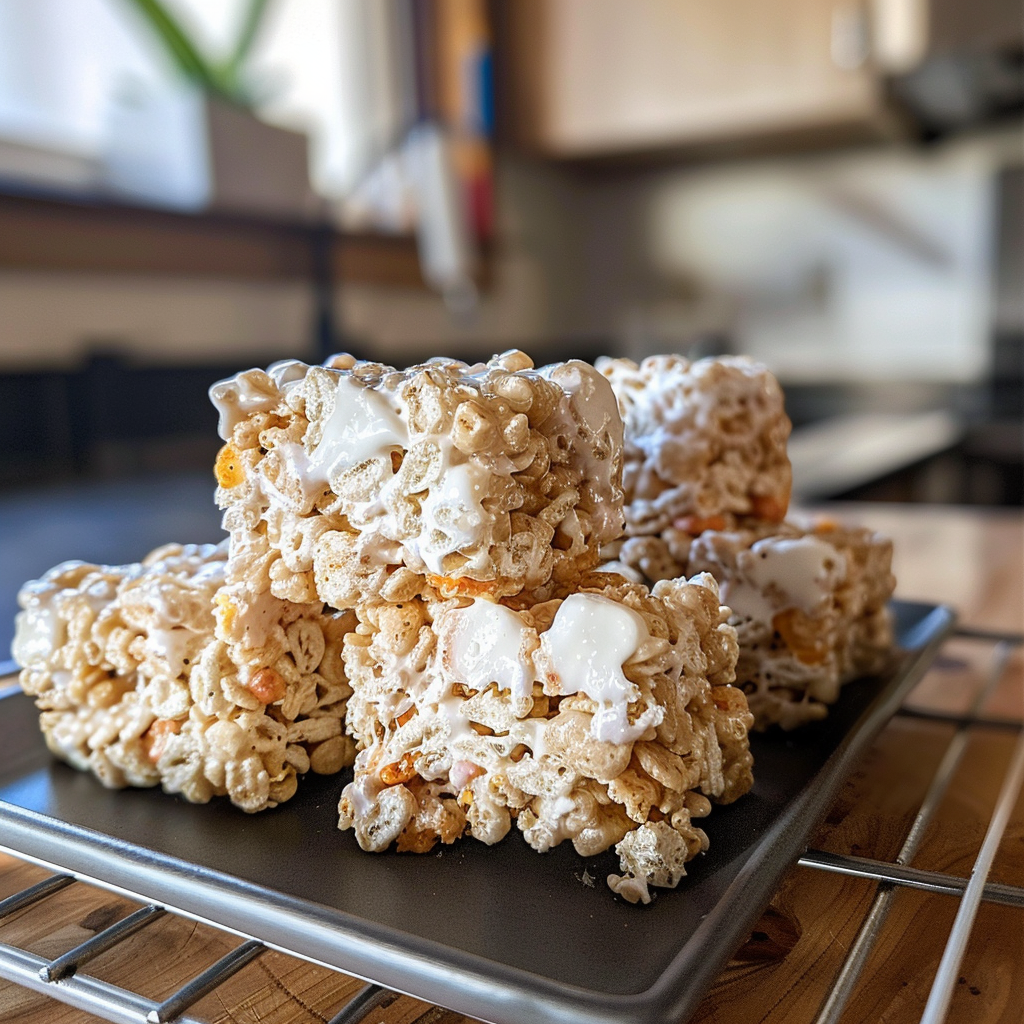
The moment you bite into a homemade rice krispies treat, it’s like a party in your mouth where the marshmallows dance with the buttery goodness. The crispiness from the rice cereal combined with that gooey sweetness creates a texture and flavor explosion that is simply irresistible. Imagine walking into your kitchen and being enveloped by the sweet aroma of melting marshmallows—it’s like a warm hug from your favorite childhood memories.
These delightful little squares aren’t just for kids; they bring out the inner child in all of us. Whether it’s a rainy day, a school bake sale, or just because you need a sugar fix, homemade rice krispies treats are always a hit. You’ll find them to be quick to make and even quicker to disappear!
Why You'll Love This Recipe
- Making these treats is as easy as pie—if pie were made of crispy rice and marshmallows.
- They look adorable on any dessert table and taste even better than they look.
- Plus, you can customize them with mix-ins like chocolate chips or sprinkles for extra fun!
I remember making these delightful squares with my kids one afternoon. Their giggles echoed around the kitchen as we melted marshmallows together, creating a memory I cherish.
Essential Ingredients
Here’s what you’ll need to make this delicious dish:
- Rice Cereal: Choose classic puffed rice cereal for that perfect crunch; it’s the foundation of this treat.
- Marshmallows: Use large marshmallows for optimal gooeyness; mini ones also work well if that’s what you have.
- Butter: Real butter adds rich flavor and helps everything stick together nicely.
- Salt: Just a sprinkle enhances the sweetness of the marshmallows; don’t skip it!
The full ingredients list, including measurements, is provided in the recipe card directly below.
Let’s Make it together
Prepare Your Workspace: Clear off your countertop and gather all your ingredients so you’re ready to go without distractions. A clean space helps creativity flow freely.
Melt Butter and Marshmallows: In a large pot over medium heat, melt 3 tablespoons of butter. Add 10 ounces of marshmallows and stir continuously until completely melted and smooth. This is when the sweet aroma starts to fill your kitchen.
Add Rice Cereal: Remove from heat and immediately add 6 cups of rice cereal into the melted mixture. Stir gently but quickly until every piece is coated with that ooey-gooey goodness.
Transfer Mixture to Pan: Lightly grease a 9×13 inch baking dish for easy removal later. Pour in the mixture and use a spatula to spread it evenly while pressing down gently to compact it.
Let It Set: Allow your creation to cool at room temperature for about 30 minutes or until set firmly enough to cut into squares without falling apart.
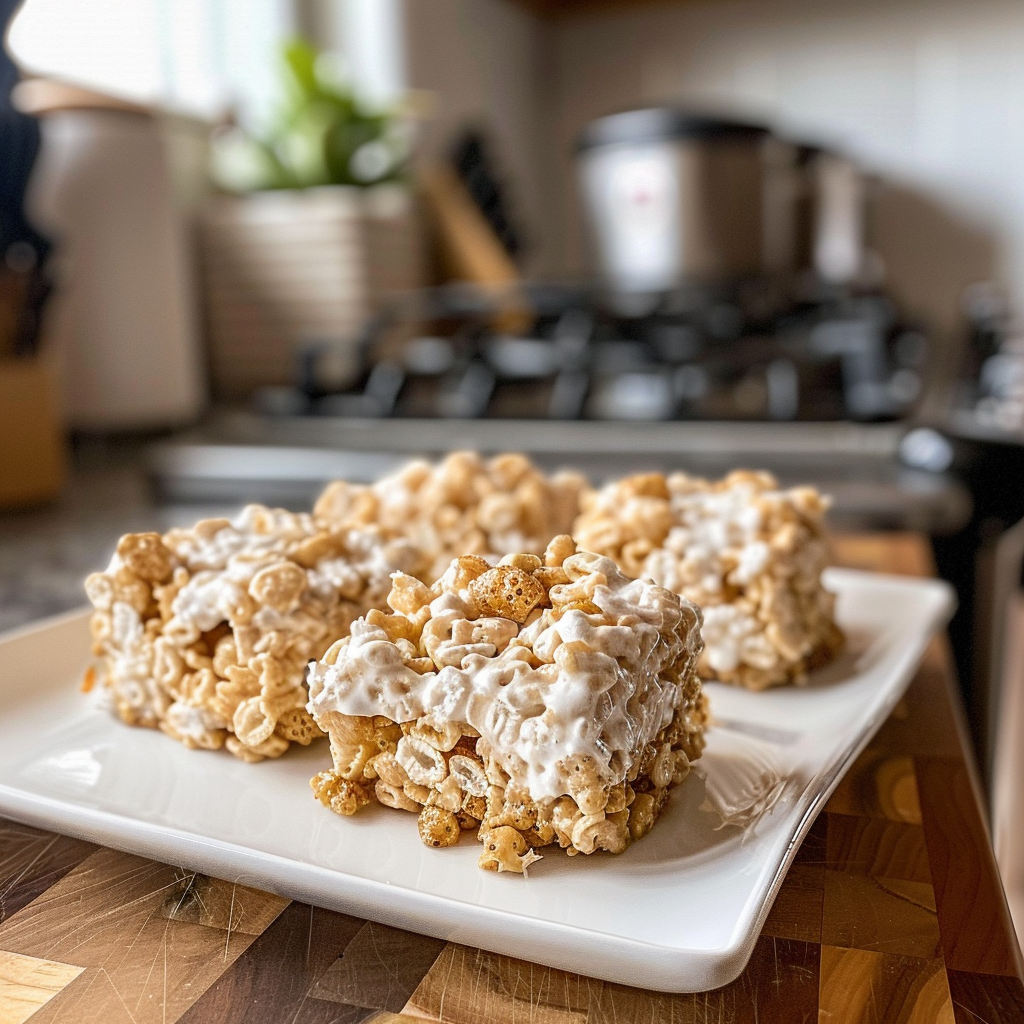
Slice and Serve: Once cooled, use a sharp knife to cut into squares or rectangles. Serve immediately or store in an airtight container—if they last that long!
Enjoying homemade rice krispies treats brings back memories while creating new ones with family and friends!
You Must Know
- Use fresh marshmallows for that gooey texture,They melt beautifully, creating a deliciously sticky treat.
- Press the mixture into the pan firmly, This prevents them from falling apart later.
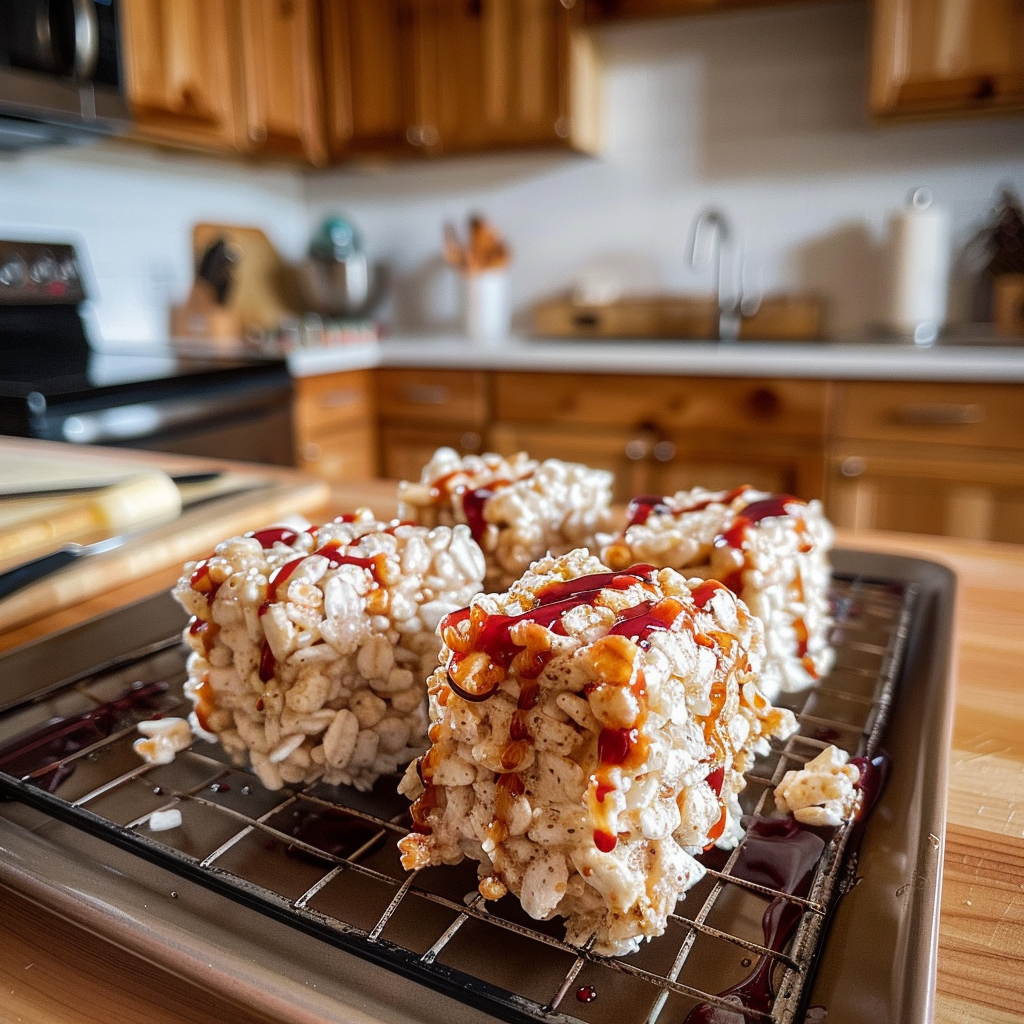
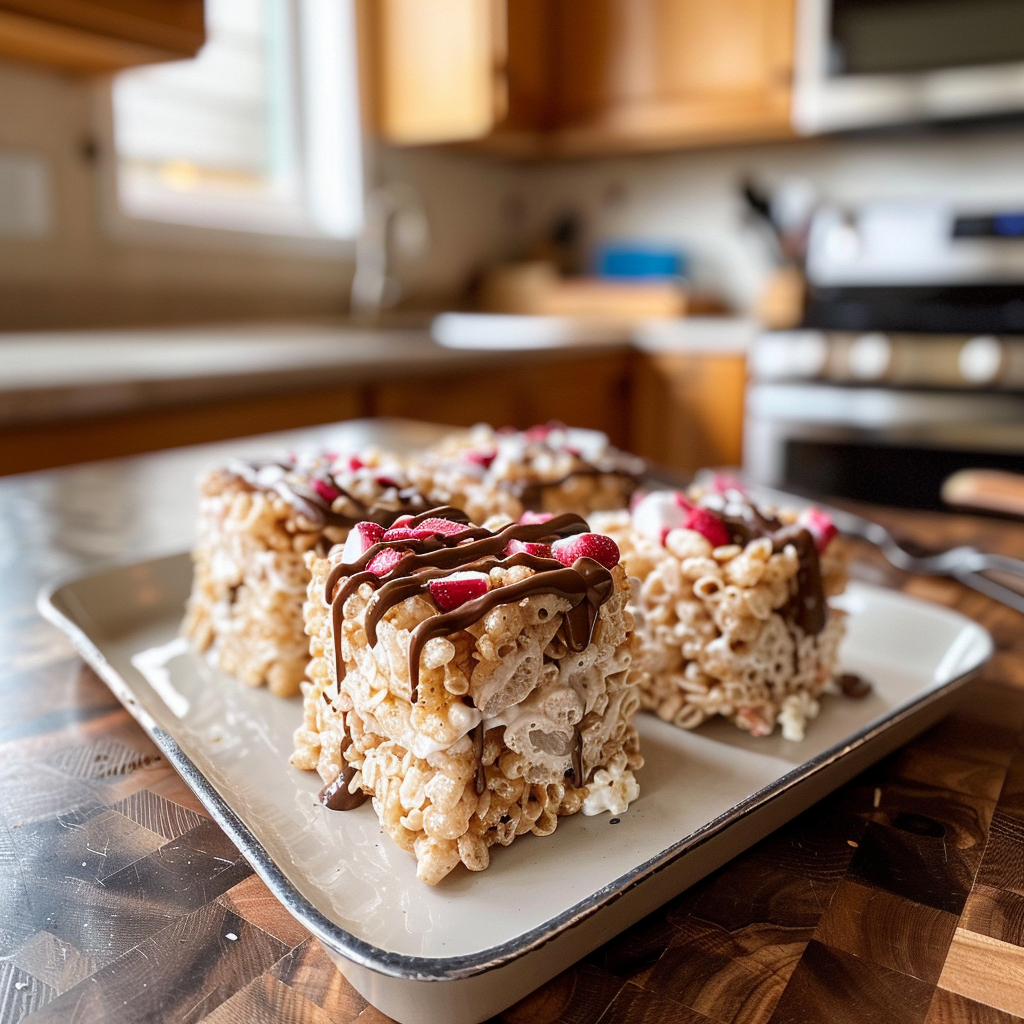
- Try adding chocolate chips or sprinkles for extra fun!
- A little color and flavor make these treats pop.
Perfecting the Cooking Process
Melt the butter in a large pot over low heat, then stir in the marshmallows until completely dissolved. This creates that essential gooey goodness before adding the rice cereal for mixing.
Add Your Touch
Consider swapping rice cereal with puffed quinoa or adding peanut butter for a nutty twist. These changes will elevate your homemade rice krispies treats to another level of yumminess.
Storing & Reheating
Store treats in an airtight container at room temperature for up to one week. If they get too hard, microwave for a few seconds to soften them without losing their charm.
Chef's Helpful Tips
- To achieve perfect crispy edges, let your treats cool completely before cutting them.
- Always use non-stick spray on your pan to ensure easy removal.
- Lastly, never underestimate the power of fun toppings; they make every bite exciting!
Sharing this recipe reminds me of cozy afternoons spent with friends experimenting in the kitchen while munching on warm treats straight from the pan.
FAQ
Can I use gluten-free cereal for homemade rice krispies treats?
Absolutely! Just ensure you choose certified gluten-free rice cereal for safety.
How do I prevent my rice krispies treats from being too sticky?
Press the mixture firmly into the pan and let them cool completely before cutting.
What can I use instead of marshmallows?
You can substitute with marshmallow fluff or homemade marshmallow recipes if you prefer!
Did You Enjoy Making This Recipe? Please rate this recipe with ⭐⭐⭐⭐⭐ or leave a comment.
📖 Recipe Card
Print
Easy Homemade Rice Krispies Treats Recipe
- Total Time: 15 minutes
- Yield: Approximately 12 squares 1x
Description
Homemade rice krispies treats are a timeless, gooey delight combining crispy rice cereal and melted marshmallows for a quick and satisfying snack that everyone loves.
Ingredients
- 6 cups puffed rice cereal
- 10 ounces large marshmallows
- 3 tablespoons unsalted butter
- 1/4 teaspoon salt
Instructions
- Clear your workspace and gather all ingredients.
- In a large pot over medium heat, melt the butter. Once melted, add marshmallows and stir continuously until smooth.
- Remove from heat and quickly mix in the rice cereal until fully coated.
- Lightly grease a 9×13 inch baking dish. Transfer the mixture and press down evenly with a spatula.
- Cool at room temperature for about 30 minutes before cutting into squares.
Notes
- For extra fun, mix in chocolate chips or colorful sprinkles before pressing into the pan.
- Store in an airtight container at room temperature for up to one week. If they harden, microwave for a few seconds to soften.
- Prep Time: 10 minutes
- Cook Time: 5 minutes
- Category: Dessert
- Method: No-Bake
- Cuisine: American
Nutrition
- Serving Size: 1 square (25g)
- Calories: 100
- Sugar: 8g
- Sodium: 50mg
- Fat: 3g
- Saturated Fat: 2g
- Unsaturated Fat: 1g
- Trans Fat: 0g
- Carbohydrates: 18g
- Fiber: <1g
- Protein: 1g
- Cholesterol: 5mg