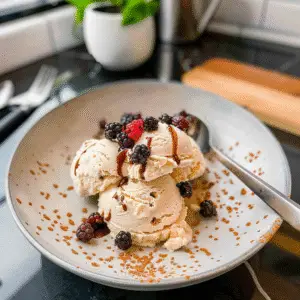
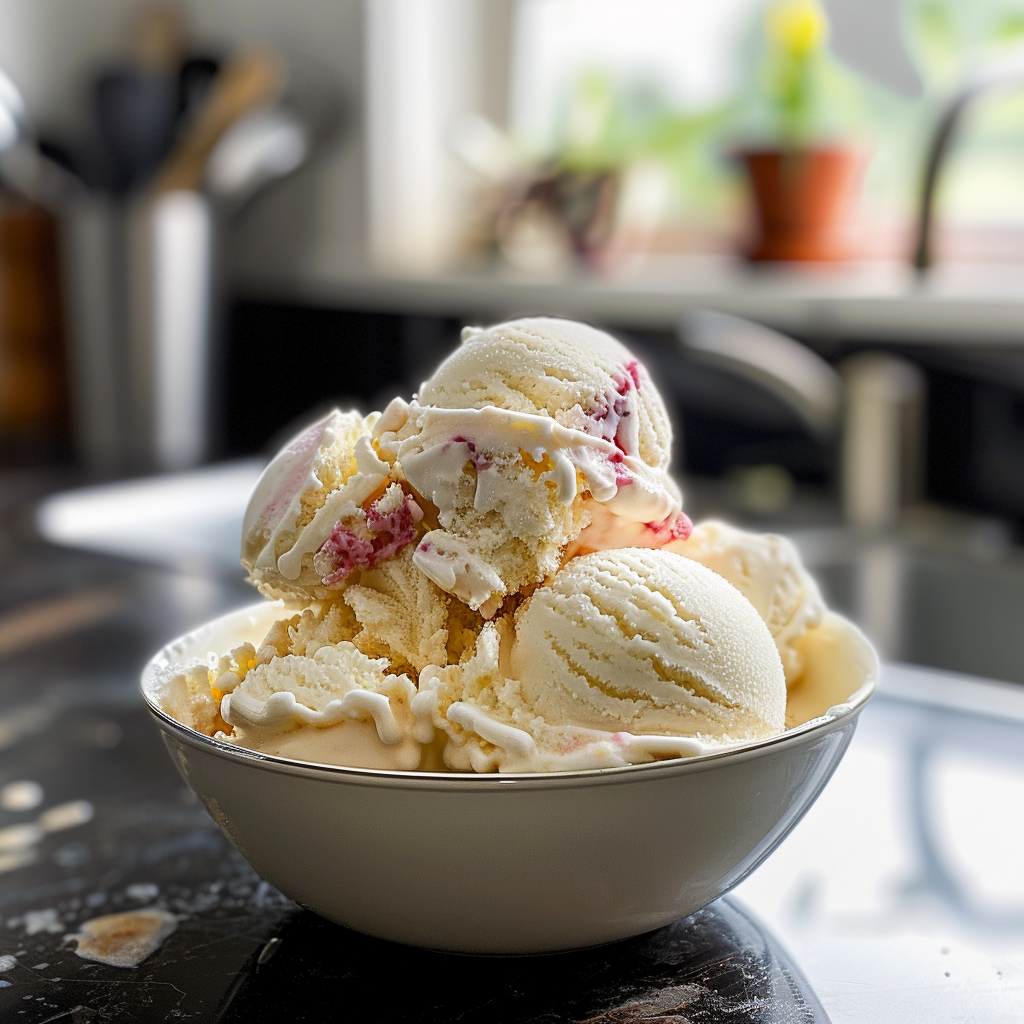
Catch the essence of summer with a bowl of Memorial Day homemade ice cream that dances on your taste buds like a firefly at twilight. Picture this: velvety smoothness melting in your mouth while the sweet aroma of vanilla envelops you like a warm hug from your grandma. This delightful treat is not just food; it’s an experience that transports you to sun-soaked barbecues and laughter-filled family gatherings.
Jump to:
- <strong>Essential Ingredients</strong>
- <strong>Let’s Make it together</strong>
- <strong>Key Tips for Memorial Day Homemade Ice Cream</strong>
- <strong>Perfecting the Cooking Process</strong>
- <strong>Add Your Touch</strong>
- <strong>Storing & Reheating</strong>
- <strong>FAQ</strong>
- What is the best base for homemade ice cream?
- Can I make dairy-free homemade ice cream?
- How long does homemade ice cream last?
- 📖 Recipe Card
Now, let me take you back to the time when my kids first tasted this creamy wonder. Their eyes lit up as though they’d discovered treasure buried in the backyard. “Mom,” they exclaimed with sticky fingers and joyful grins, “this is the best thing ever!” And who could blame them? The anticipation builds as you whip up this delightful concoction that is made to be shared under the sun with friends and family.
Why You'll Love This Recipe
- This Memorial Day homemade ice cream comes together quickly and easily, making it perfect for busy summer days.
- The luscious flavors burst in your mouth with every scoop, promising pure joy.
- Its stunning colors make it a showstopper at any gathering, inviting everyone to indulge.
- You can customize it endlessly with mix-ins or toppings to suit everyone’s tastes.
I still remember the first time my family gathered around the ice cream maker—everyone eagerly waiting for that magic moment when we could dig in and enjoy!
Essential Ingredients
Here’s what you’ll need to make this delicious dish:
- Heavy Cream: Choose high-quality heavy cream to create a rich and creamy texture that melts in your mouth.
- Whole Milk: Opt for whole milk for added creaminess; it blends beautifully with the heavy cream.
- Sugar: Granulated sugar works best; it sweetens without altering the texture of your ice cream.
- Vanilla Extract: Use pure vanilla extract for an authentic flavor that elevates your homemade creation.
- Salt: A pinch of salt balances sweetness and enhances all the flavors in your ice cream.
- Mix-ins (optional): Get creative! Consider chocolate chips, fruit pieces, or nuts for added texture and flavor.
The full ingredients list, including measurements, is provided in the recipe card directly below.
Let’s Make it together
Prepare Your Ice Cream Base: In a large mixing bowl, combine heavy cream and whole milk. Whisk until well blended; you want both ingredients to unite in creamy harmony.
Add Sugar and Salt: Gradually whisk in sugar and salt until fully dissolved; taste-test—it should be sweeter than a summer fling but not overly so!
Add Vanilla Extract: Stir in pure vanilla extract; feel free to add more if you’re a vanilla enthusiast like me! This is where the magic begins.
Chill the Mixture: Cover the bowl with plastic wrap and refrigerate for at least 1 hour; this helps enhance those wonderful flavors while cooling down nicely.
Churn It Up: Pour the chilled mixture into an ice cream maker according to manufacturer instructions; churn until thickened—just like how I feel after too many slices of cake!
Add Mix-ins: If using mix-ins like chocolate chips or fruit pieces, fold them into the thickened ice cream gently; make sure they’re evenly distributed without breaking apart.
Freeze Until Firm: Transfer your beautiful creation into an airtight container; freeze for about 4 hours or until firm enough to scoop—patience is key here!
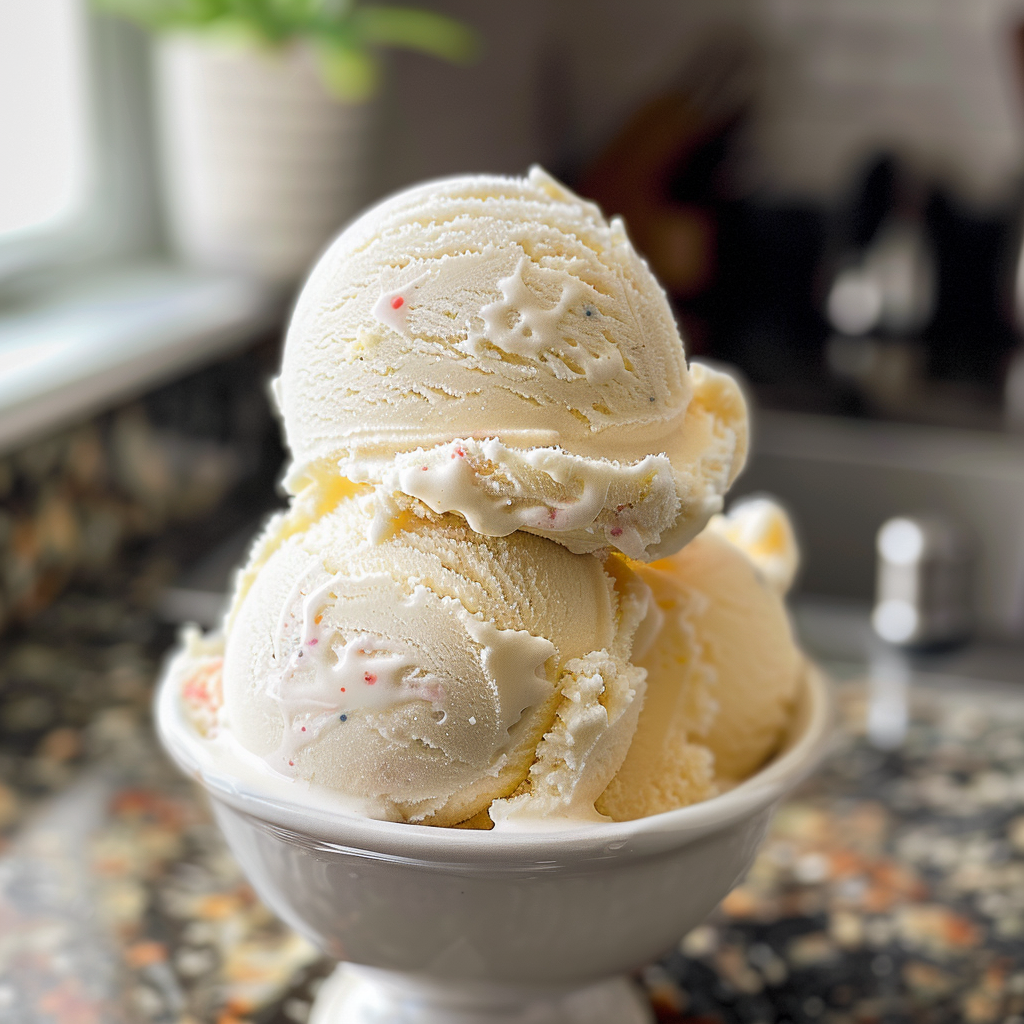
Now go ahead and scoop yourself out a generous helping of your homemade delight!
There you have it—a simple yet delectable recipe that’ll have everyone coming back for seconds (and thirds). Enjoy your Memorial Day celebration surrounded by loved ones while savoring this creamy treat!
Key Tips for Memorial Day Homemade Ice Cream
Use fresh ingredients: Fresh fruits and quality cream elevate flavors and texture immensely. Trust me, that’s the secret to ice cream bliss. I once made ice cream with old bananas; it was a disaster.
Chill your mixture: Letting your ice cream base chill before churning makes a huge difference. It creates a smoother texture that will make your taste buds sing. A friend once skipped this step and ended up with chunky ice cream—yikes!
Don’t rush the churning: Take your time while churning to incorporate air for that light, fluffy texture. If you rush, you’ll end up with dense ice cream that rivals a brick. I learned this the hard way during my first ever ice cream attempt!
Perfecting the Cooking Process
Start by mixing your ingredients in a bowl until combined, then chill the mixture in the refrigerator for at least 2 hours. This ensures a creamy texture when churned later.
Add Your Touch
Feel free to swap out flavors or add mix-ins! Try almond milk for a dairy-free version or throw in chocolate chips for some delightful crunch. The world of homemade ice cream is your oyster!
Storing & Reheating
Store your homemade ice cream in an airtight container in the freezer. To maintain optimal creaminess, let it sit at room temperature for about 5-10 minutes before scooping.
Chef's Helpful Tips
- When making homemade ice cream, using high-fat content cream yields richer flavors.
- Avoid over-churning to keep it light and fluffy.
- Always label your creations so you remember what deliciousness awaits inside!
Cooking homemade ice cream reminds me of family gatherings where everyone would gather around the machine waiting impatiently for that first scoop.
FAQ
What is the best base for homemade ice cream?
Using heavy cream provides the richest flavor and smoothest texture for your ice cream.
Can I make dairy-free homemade ice cream?
Absolutely! Use coconut milk or almond milk as a delightful alternative.
How long does homemade ice cream last?
Homemade ice cream can last up to two weeks when stored properly in the freezer.
Did You Enjoy Making This Recipe? Please rate this recipe with ⭐⭐⭐⭐⭐ or leave a comment.
📖 Recipe Card
Print
Memorial Day Homemade Ice Cream
- Total Time: 35 minutes
- Yield: Approximately 6 servings 1x
Description
Memorial Day Homemade Ice Cream is a creamy, refreshing treat that brings joy to summer gatherings. Easy to make and customizable, it’s the perfect dessert for warm celebrations.
Ingredients
- 2 cups heavy cream
- 1 cup whole milk
- 3/4 cup granulated sugar
- 1 tablespoon pure vanilla extract
- 1/4 teaspoon salt
- Optional mix-ins: chocolate chips, fruit pieces, or nuts
Instructions
- In a large mixing bowl, combine heavy cream and whole milk. Whisk until smooth.
- Gradually whisk in sugar and salt until fully dissolved.
- Stir in vanilla extract.
- Cover the bowl with plastic wrap and refrigerate for at least 1 hour.
- Pour the chilled mixture into an ice cream maker and churn according to manufacturer instructions until thickened.
- If using mix-ins, gently fold them into the thickened ice cream.
- Transfer to an airtight container and freeze for about 4 hours or until firm.
Notes
- Use fresh, high-quality ingredients for the best flavor.
- Consider using almond milk or coconut milk for a dairy-free version.
- Allow ice cream to sit at room temperature for 5-10 minutes before scooping.
- Prep Time: 15 minutes
- Cook Time: 20 minutes
- Category: Dessert
- Method: Churning
- Cuisine: American
Nutrition
- Serving Size: 1/2 cup (120g)
- Calories: 360
- Sugar: 27g
- Sodium: 50mg
- Fat: 30g
- Saturated Fat: 18g
- Unsaturated Fat: 10g
- Trans Fat: 0g
- Carbohydrates: 28g
- Fiber: 0g
- Protein: 3g
- Cholesterol: 85mg